How to Connect Email Verification to HubSpot Workflows
HubSpot is the CRM of choice for thousands of B2B companies, and it handles a lot of email operations: marketing campaigns, sales sequences, transactional emails, and automated workflows. But HubSpot does not include built-in email verification for incoming contacts. Every new contact that enters your HubSpot database is assumed to have a valid email address until proven otherwise (usually by a bounce).
This guide covers three approaches to integrating email verification into HubSpot: workflow-based verification, Zapier-connected verification, and direct API integration.
Approach 1: HubSpot Workflows with Webhooks
HubSpot's workflow tool can trigger a webhook when specific conditions are met. You can use this to call the CatchallVerifier API automatically when new contacts enter your database.
Create a workflow triggered by "Contact enrollment." Set the trigger to fire when a contact is created or when a specific property changes (like lifecycle stage moving to "Lead"). Add a webhook action that calls the CatchallVerifier API with the contact's email address. Use the webhook response to update custom contact properties: verification status, verification date, and catch-all resolution result.
Then add branching logic: if the verification status is "invalid" or "undeliverable," set the contact's marketing status to non-marketable and add them to a suppression list. If the status is "valid" or "catch-all deliverable," the contact proceeds normally through your marketing and sales workflows.
Approach 2: Zapier Integration
For teams that prefer no-code automation, Zapier provides a simpler path:
Create a Zap with the trigger "New Contact in HubSpot." Add an action step that calls the CatchallVerifier API (using Zapier's Webhooks by Zapier action). Parse the API response to extract the verification status. Add a final action that updates the HubSpot contact with the verification result.
This approach requires a Zapier subscription but involves no coding and can be set up in under an hour. It works well for moderate contact volumes (hundreds per day).
Approach 3: Direct API Integration
For development teams, direct API integration gives you the most control. Use HubSpot's custom code actions within workflows (available on Professional and Enterprise plans) to call the CatchallVerifier API directly. This eliminates the need for Zapier and keeps the entire flow within HubSpot.
The custom code action supports Node.js. Write a function that takes the contact's email, calls the CatchallVerifier API, and returns the verification status. HubSpot workflows handle the rest: updating properties, branching logic, and downstream actions.
What to Do with Verification Results in HubSpot
Create these custom properties in HubSpot: Email Verification Status (dropdown: valid, invalid, catch-all, risky, unknown, disposable), Email Verified Date (date), and Catch-All Resolution (dropdown: deliverable, undeliverable, not applicable).
Use these properties in your HubSpot workflows, lists, and reports. Create active lists based on verification status to segment your sends. Add verification status to your lead scoring model (verified valid addresses get more points). Build reports showing data quality metrics over time.
For marketing emails, only include contacts with "valid" or "catch-all deliverable" status. For sales sequences, prioritize verified contacts and flag unverified ones for manual review. For automated workflows (welcome sequences, nurture campaigns), gate enrollment on verification status to prevent sending to unverified addresses.
Batch Verification for Existing Contacts
The workflow approach handles new contacts going forward. But what about the contacts already in your HubSpot database?
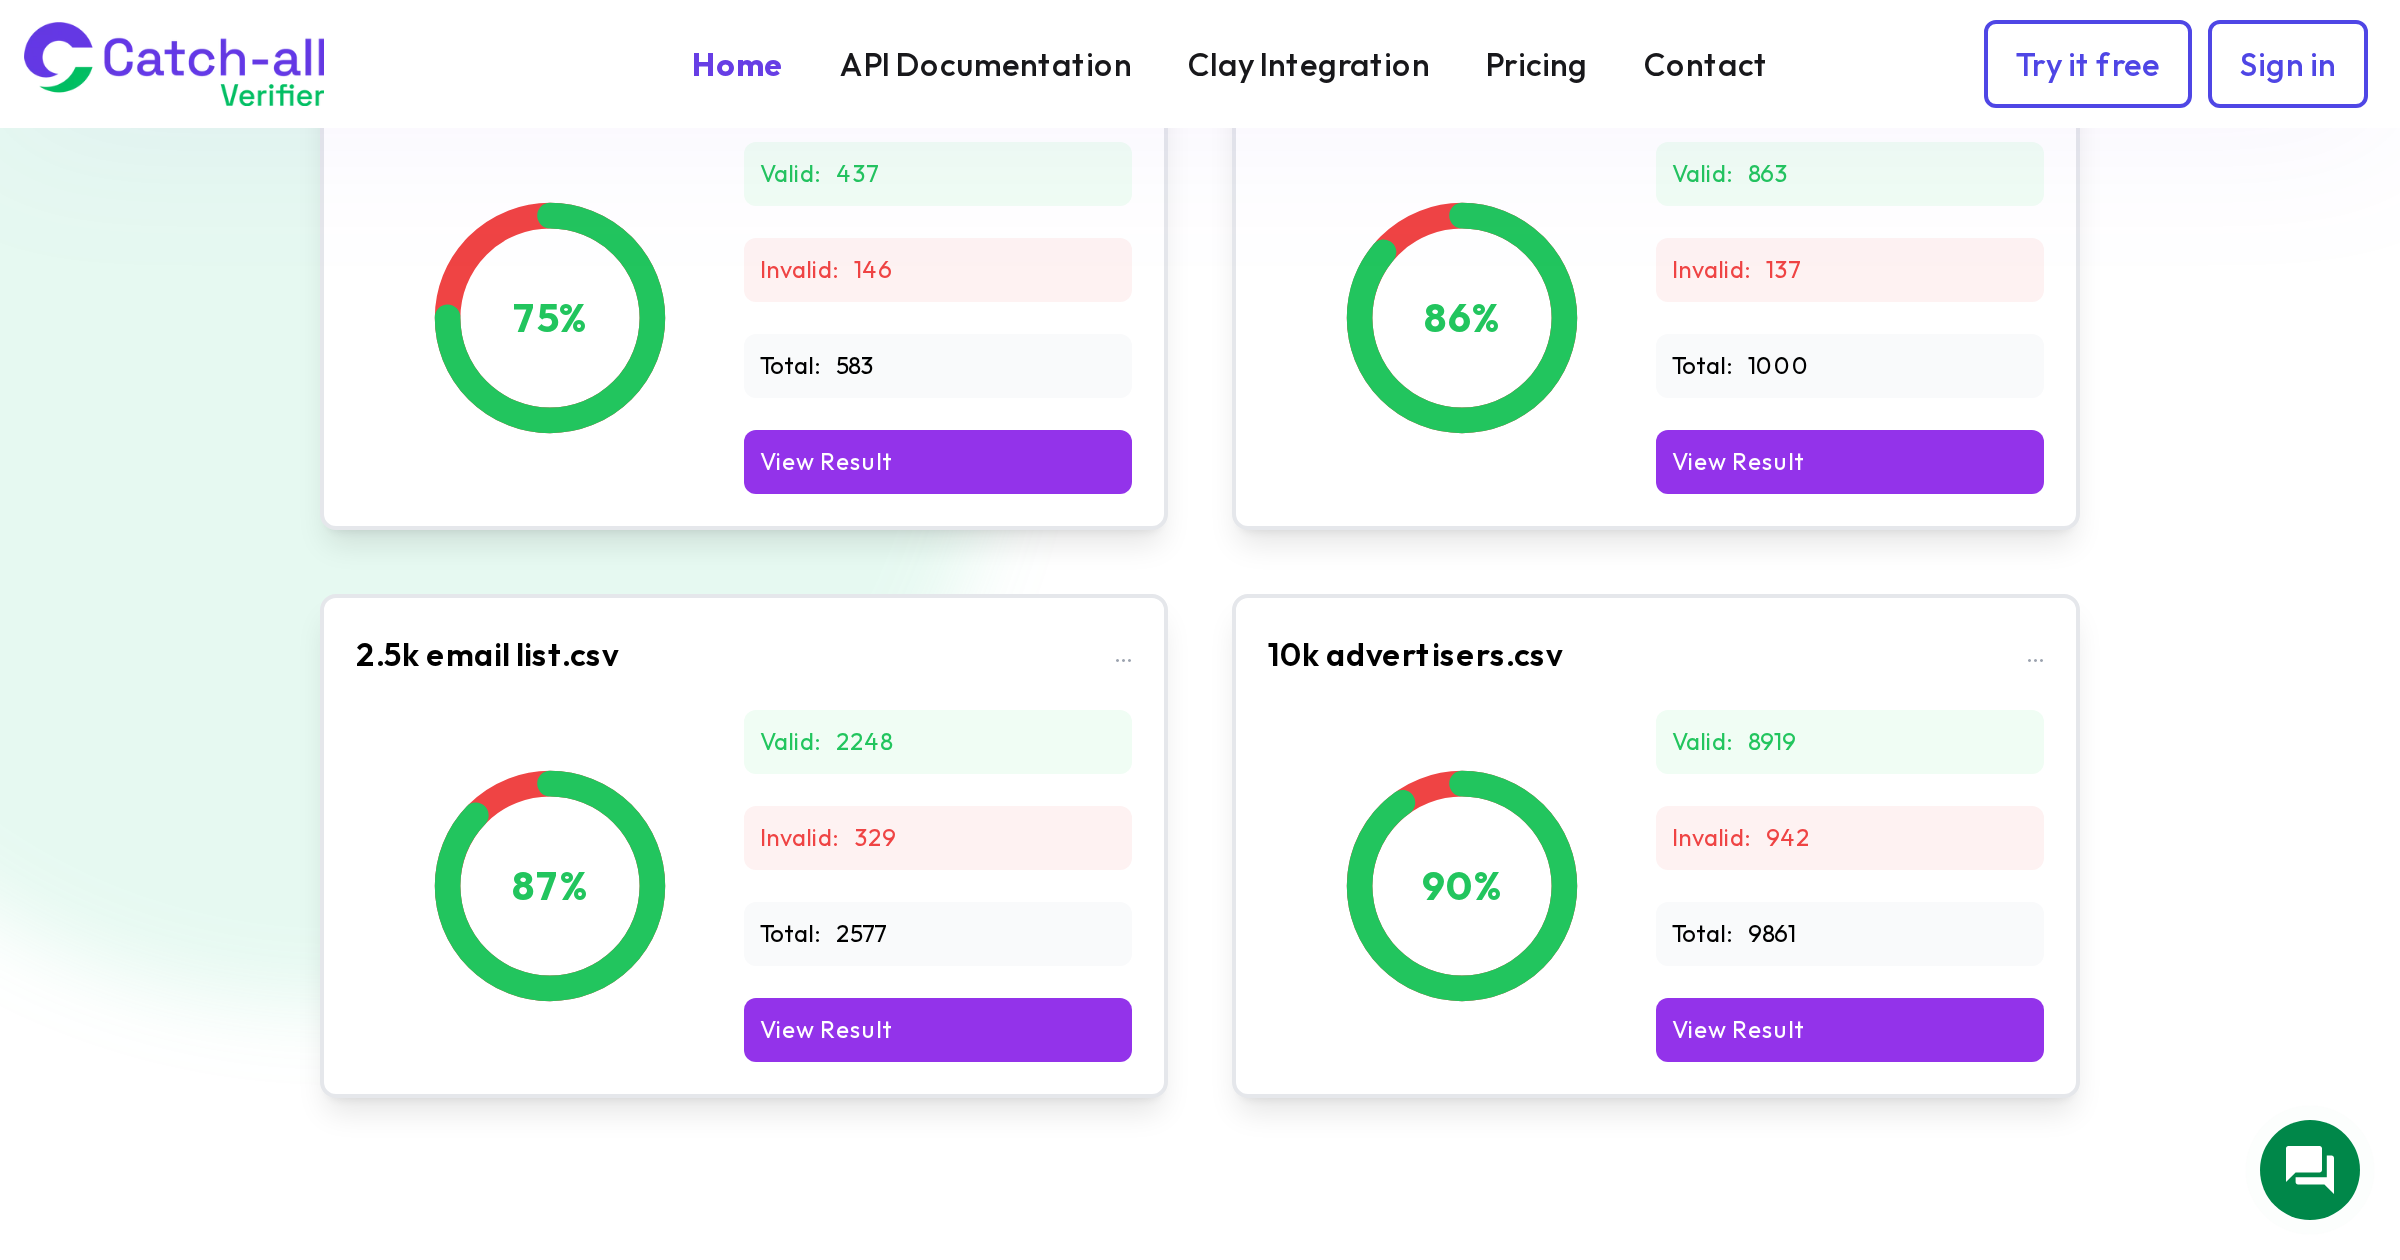
Export your existing contacts as a CSV. Run them through CatchallVerifier's bulk verification. Map the results back to your HubSpot contacts using email as the key. Import the verification status as a property update.
For large databases, this is more efficient than running each contact through the API individually. After the initial batch verification, your workflow handles new contacts automatically, and you re-run batch verification every 3-6 months to catch decay.
The result is a HubSpot database where every contact has a known verification status, catch-all addresses are resolved, and your marketing and sales workflows only engage with confirmed deliverable addresses. Your HubSpot email sending metrics improve, your sender reputation stays healthy, and your team stops wasting effort on undeliverable contacts.