How to Diagnose Why a Specific Domain Is Bouncing Your Emails
Your emails to everyone at specificcompany.com are bouncing. Not some of them. All of them. Or maybe 80% of them. Something is wrong with that domain specifically, and you need to figure out what.
Domain-specific bounce issues are different from general list quality problems. When a specific domain bounces consistently, the cause is usually something about that domain's configuration, not something about your sending. Here is how to investigate.
Step 1: Check the Bounce Codes
Look at the specific SMTP error codes for the bouncing domain. Different codes point to different problems. A 550 "user unknown" means the specific mailboxes do not exist (the contacts may have left the company). A 550 with a blacklist reference means your IP or domain is blocked by that company's spam filter. A 421 means the server is temporarily rejecting connections (usually resolves on its own). A 554 with a policy message means the company has a content or sender policy blocking your emails.
Step 2: Check MX Records
Look up the domain's MX records using MXToolbox or dig. If the MX records have changed recently, the company may have migrated email providers. Old addresses at the previous provider no longer work. If MX records point to a known provider (Google Workspace, Microsoft 365, Proofpoint, Mimecast), you can look up provider-specific troubleshooting steps.
If there are no MX records, the domain may have stopped accepting email entirely. The domain might have expired or the company might have shut down. Remove all contacts at that domain from your active list.
Step 3: Check Your Authentication Against That Domain
Some corporate mail servers have strict authentication requirements. Send a test email to the bouncing domain (if you have a valid test address there) and check whether SPF, DKIM, and DMARC pass. If your authentication fails for that specific domain's servers, fix the authentication issue.
Step 4: Check Blacklists
The company's mail server or security gateway might be using a blacklist that has listed your sending IP or domain. Check your IP and domain against major blacklists using MXToolbox's blacklist check. If you are listed, follow the delisting process for that specific blacklist.
Step 5: Check for Catch-All Configuration Changes
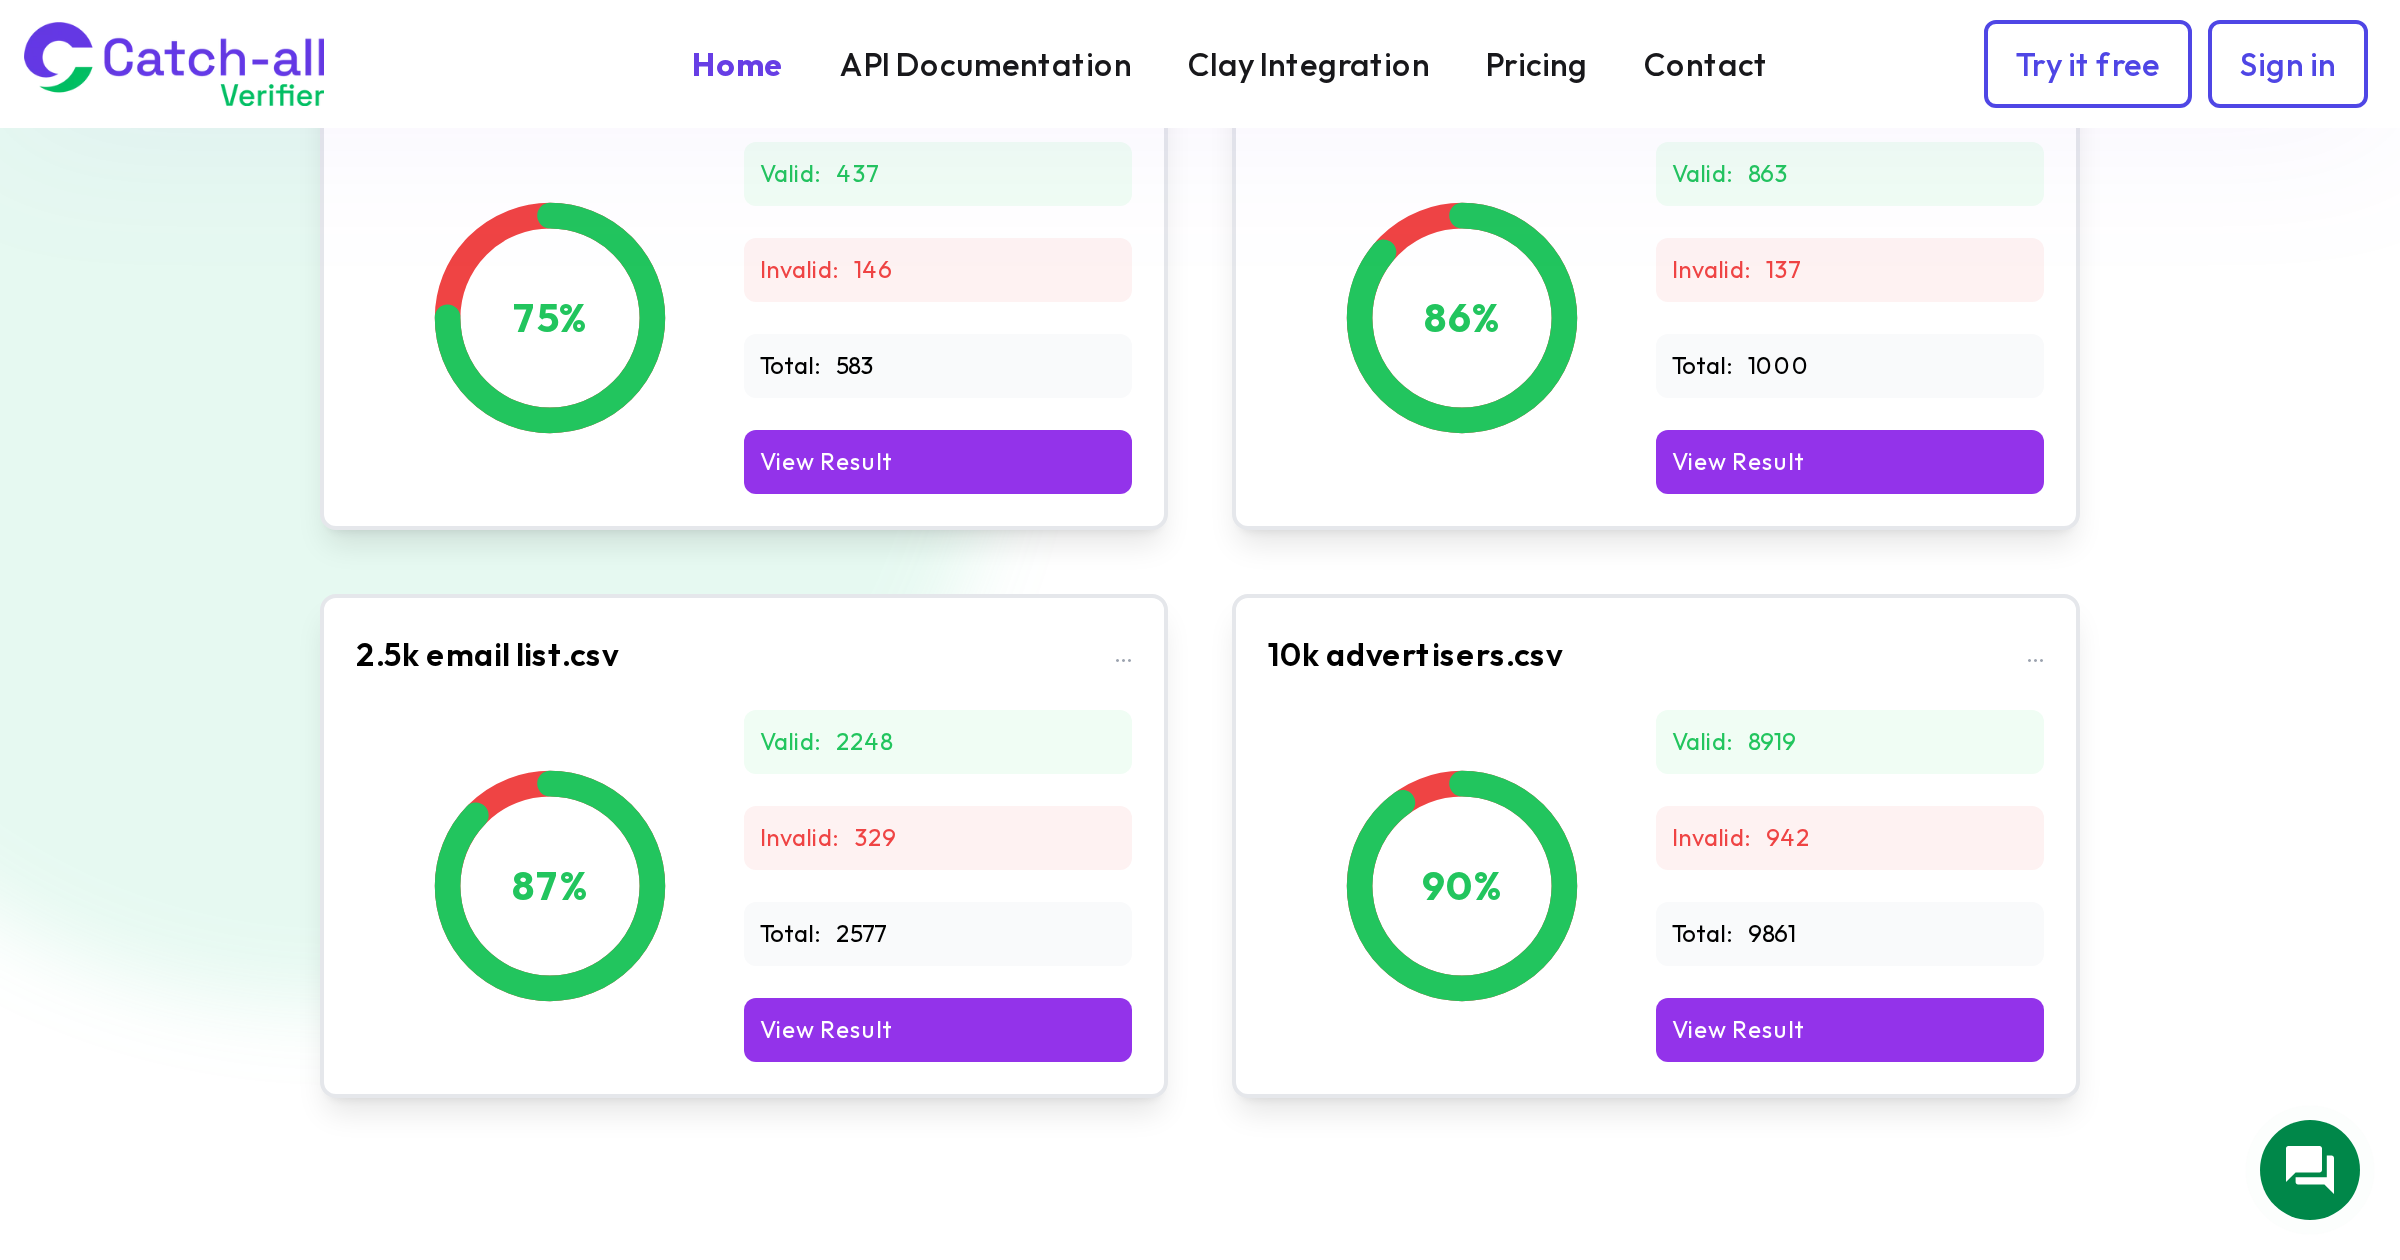
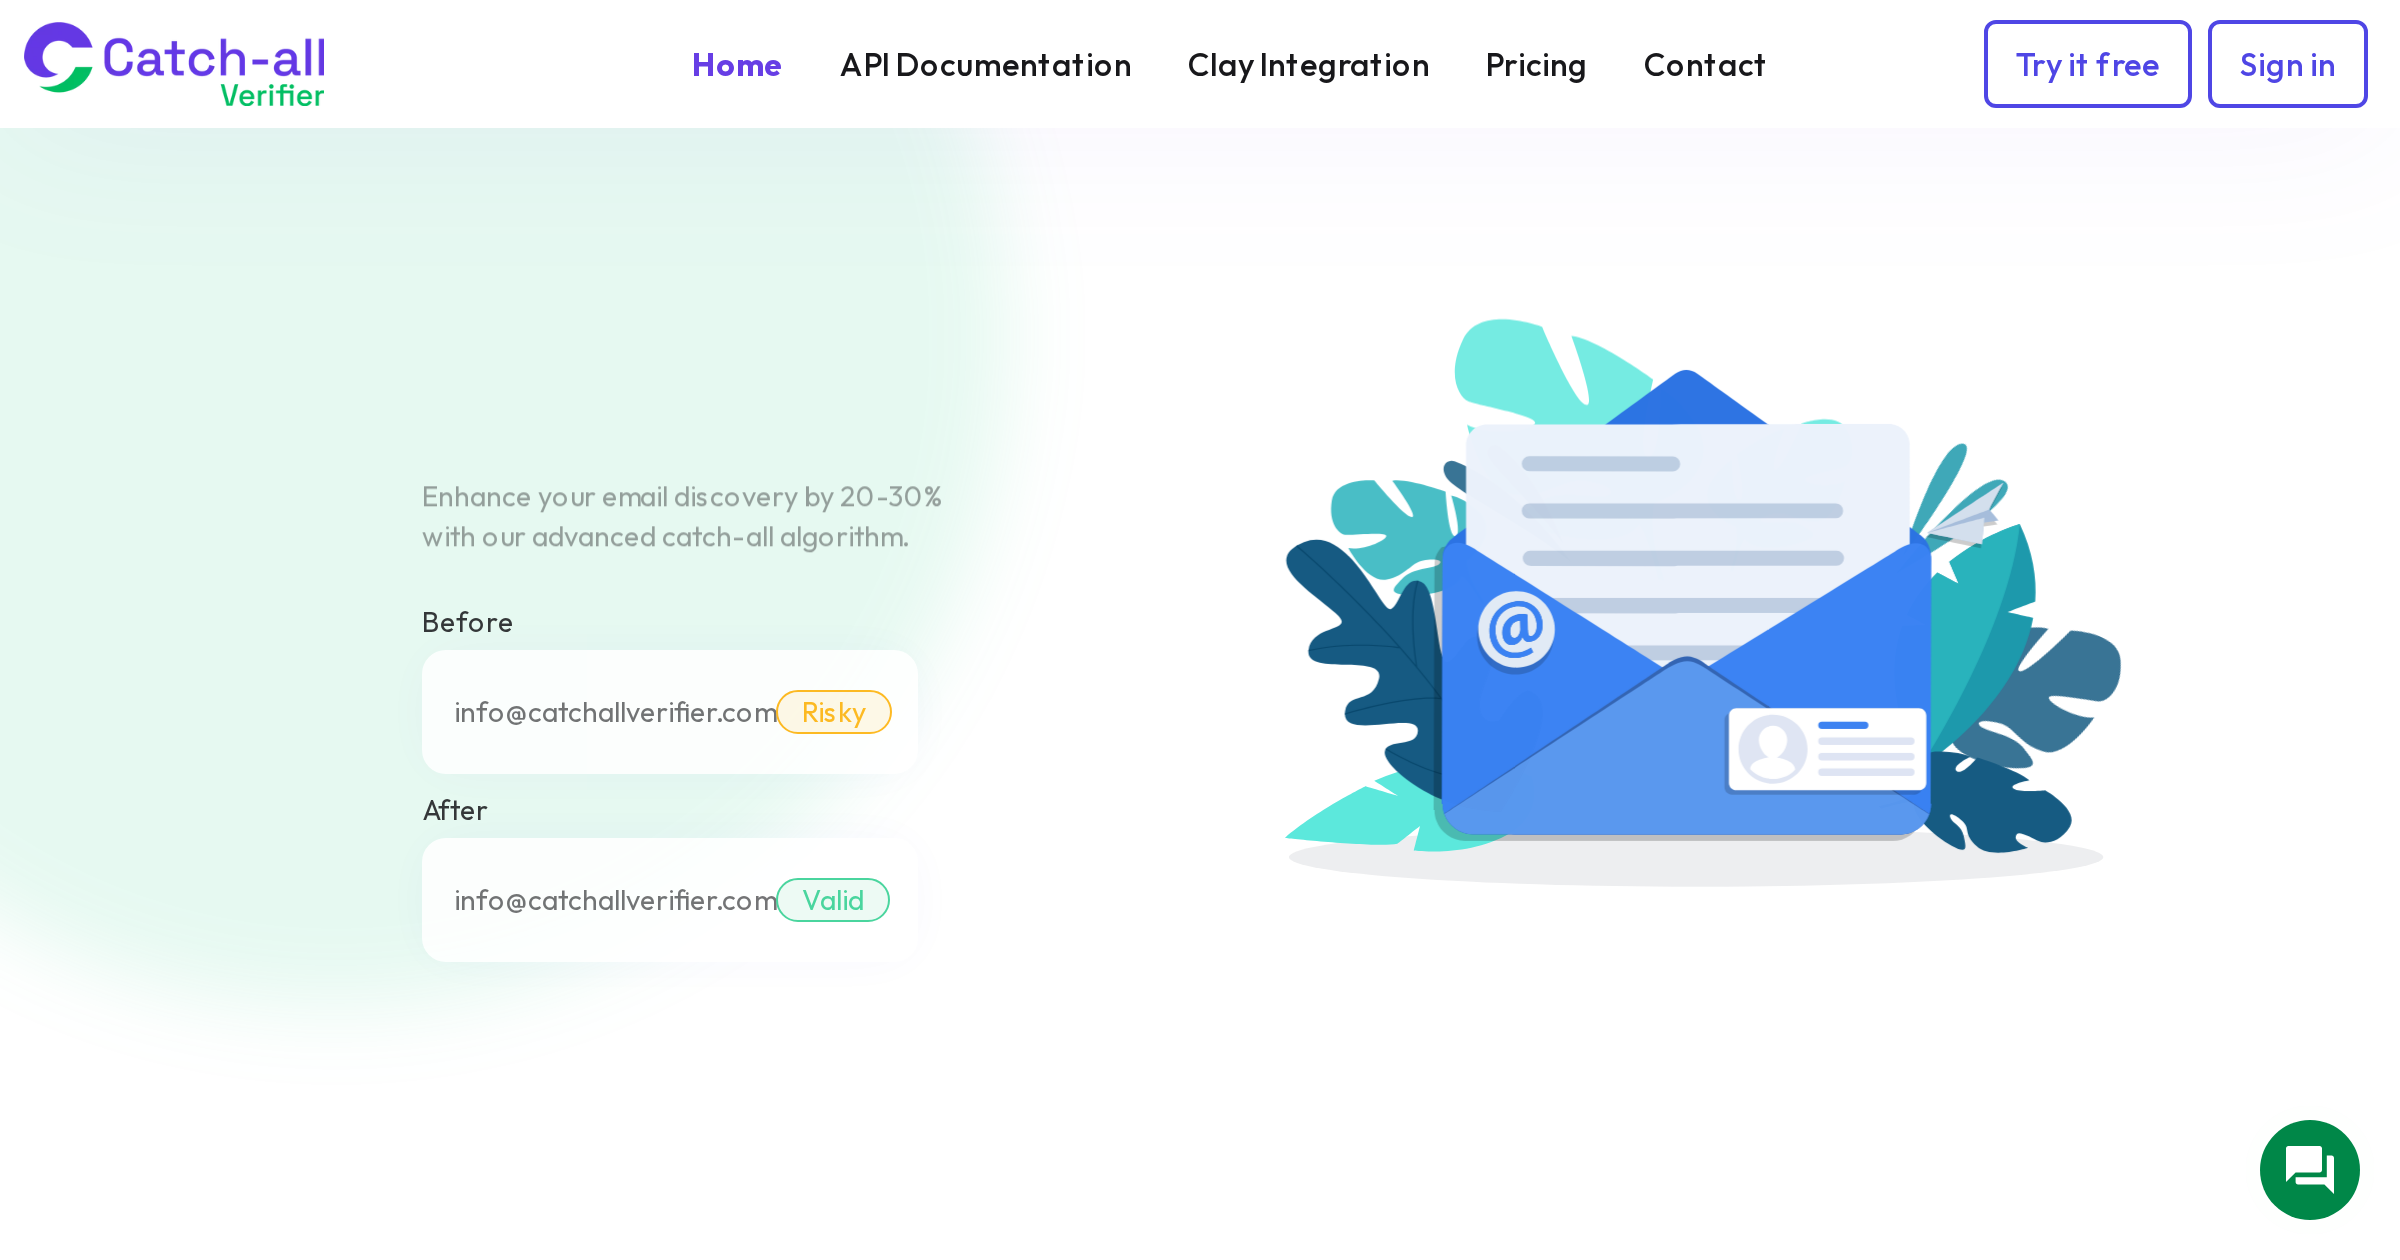
If the domain was previously catch-all and changed to explicit rejection, all addresses that were never real mailboxes will now bounce. This is common when companies tighten their email security. Run the remaining contacts through CatchallVerifier to determine which addresses at that domain are actually deliverable under the new configuration.
Step 6: Check Content Filters
Some corporate mail servers have aggressive content filtering that blocks emails with certain characteristics: links to flagged domains, specific keywords, certain HTML patterns, or attachments. Send a minimal plain-text test email to the domain. If the plain-text test delivers but your regular email does not, the problem is content-based.
Step 7: Investigate Rate Limiting
If you sent a large batch to a single domain, their mail server may be rate-limiting your connections. Corporate servers often limit the number of emails they accept from a single sender within a time window. Spread your sends to that domain across a longer time period and reduce the per-hour volume.
Step 8: Contact the Postmaster
If you have exhausted technical investigation and cannot identify the cause, reach out to the domain's postmaster. The postmaster@ address is required by RFC 2142 to accept email. Send a professional, brief message explaining that you are a legitimate sender experiencing delivery issues, and ask if there are specific requirements or blocks in place.
Decision Tree
After investigation, you need to decide what to do: if the domain migrated providers, re-verify all contacts and remove those that no longer exist. If you are blacklisted, get delisted and fix the root cause. If the domain has aggressive filtering, adjust your content for emails to that domain. If the domain shut down or dropped MX records, remove all contacts at that domain. If the domain changed from catch-all to explicit rejection, re-verify through CatchallVerifier.
Document your findings. The same domain might cause issues again in the future, and having a record of what happened and how you resolved it saves investigation time the second time around.