Your email deliverability is not where you want it to be. Maybe your open rates have been declining steadily for months. Maybe you recently checked Google Postmaster Tools and saw your domain reputation sitting at Low. Maybe you are getting reports from subscribers that they are finding your emails in spam. Whatever the symptom, the question is the same: what specifically do you do to fix it?
There are a lot of vague deliverability guides out there that tell you to improve your sender reputation without explaining exactly how. This is a step-by-step approach with specific actions you can take, roughly in order of impact and urgency.
Step 1: Audit Your Authentication
Before anything else, make sure your email authentication is airtight. This is the most fundamental requirement and the easiest to check. Send a test email to a Gmail address and look at the original message headers (in Gmail, click the three dots next to the reply button and select Show original).
You should see:
- SPF: PASS
- DKIM: PASS
- DMARC: PASS
If any of these show FAIL or NEUTRAL, fix them before doing anything else. Authentication failures are the most common cause of deliverability problems, and everything else you do will be undermined if your authentication is broken.
Common authentication problems and fixes:
SPF failing: Your SPF record does not include the mail server that sent the message. Identify which service sent the email (check the Received headers) and add it to your SPF record. Also check that you have not exceeded the 10-lookup limit.
DKIM failing: The DKIM key in your DNS does not match the signature on the message, or the DKIM record is missing entirely. Re-generate DKIM keys through your ESP and update your DNS records. Test again after DNS propagation (can take up to 48 hours).
DMARC failing: DMARC fails when neither SPF nor DKIM passes with domain alignment. Make sure at least one (ideally both) of your authentication methods passes AND aligns with the From domain. Alignment means the domain in the SPF/DKIM check matches the domain in the visible From address.
Do this check for every system that sends email on your behalf: your marketing ESP, your transactional email service, your CRM, your helpdesk, and any other tool that sends email using your domain.
Step 2: Clean Your List
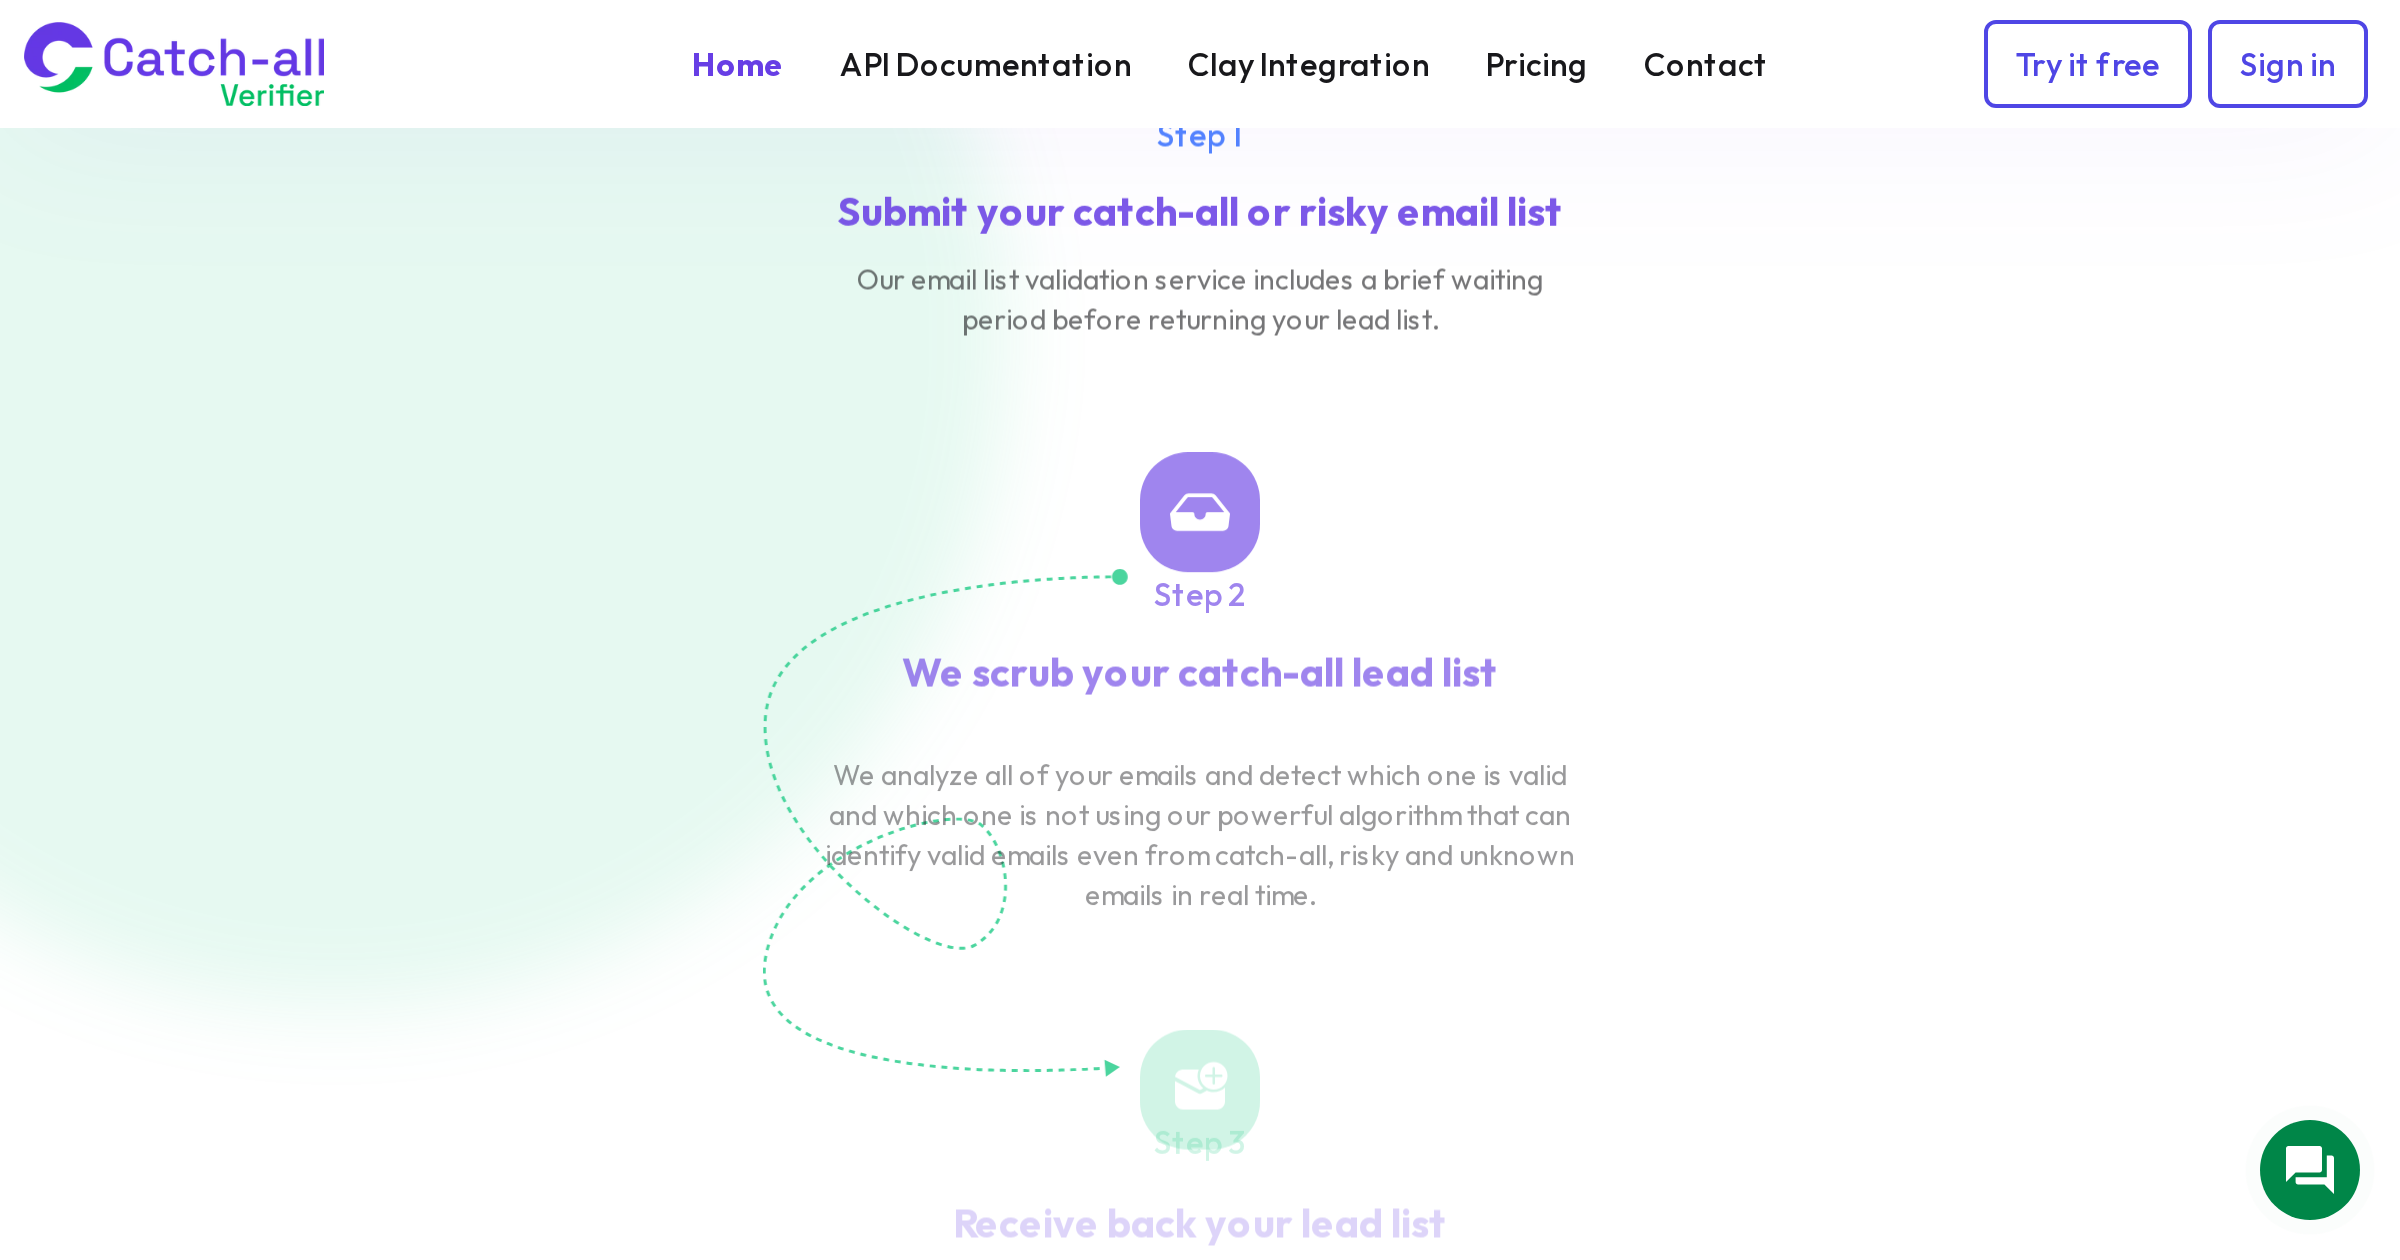
If your authentication is solid and you are still having deliverability problems, the next most likely culprit is list quality. Run your entire active email list through a verification service. Do this even if you think your list is clean.
Remove every address that comes back as invalid. For risky addresses (catch-all, role-based, disposable), make a decision based on your risk tolerance. If you are in a deliverability crisis, err on the side of removing them. You can always add them back later once your reputation is restored.
Also identify subscribers who have not engaged with your emails in the past 180 days. Move them to a separate segment and stop sending to them temporarily. This immediately improves your engagement ratios, which is one of the strongest signals mailbox providers use for filtering decisions.
The math here is stark. If you have 50,000 subscribers and 15,000 of them never open your emails, your active open rate might be 20% (10,000 opens out of 50,000 sends). Remove those 15,000 inactive subscribers, and your open rate jumps to 28.5% (10,000 opens out of 35,000 sends). Same number of actual readers, dramatically better engagement signal to mailbox providers.
Step 3: Check Your Sending Reputation
With authentication and list quality addressed, dig into your sender reputation data.
Google Postmaster Tools: If you send any volume to Gmail addresses (and you almost certainly do), set up Google Postmaster Tools if you have not already. It shows your domain reputation (Bad/Low/Medium/High), IP reputation, spam rate, authentication rates, and encryption rates. This is the single most useful free deliverability tool available.
Look at the spam rate specifically. Google recommends staying below 0.10% and says you should never exceed 0.30%. If your spam rate is above these thresholds, you have a complaint problem that needs to be addressed through better targeting, clearer unsubscribe mechanisms, or both.
Blacklist checks: Run your sending IPs and domain through a multi-blacklist checker like MXToolbox. If you appear on any major blacklists (Spamhaus, Barracuda, SURBL, SpamCop), follow their specific delisting procedures. Blacklist removal can take anywhere from a few hours to several weeks, and you typically need to demonstrate that you have fixed the underlying problem.
Microsoft SNDS: If you send to Outlook and Hotmail addresses, enroll in Microsoft's Smart Network Data Services. It provides data similar to Google Postmaster Tools but for Microsoft's email ecosystem.
Step 4: Fix Your Content
Content-based filtering is less dominant than it used to be, but poor content practices can still trigger spam filters, especially when combined with a mediocre sender reputation.
Send a test email through Mail-Tester.com and review the score. Anything below 7 out of 10 needs work. The tool breaks down exactly what is hurting your score: missing unsubscribe headers, broken HTML, suspicious link patterns, and so on.
Specific content fixes that improve deliverability:
Add a List-Unsubscribe header. Google and Yahoo made this mandatory for bulk senders in February 2024. If your emails do not include a List-Unsubscribe header (specifically the one-click version, List-Unsubscribe-Post), you are already at a disadvantage. Most modern ESPs add this automatically, but verify that it is present in your email headers.
Fix your text-to-image ratio. Emails that are mostly images with very little text look like spam. Aim for at least 60% text and no more than 40% images. If you are sending image-heavy promotional emails, balance them with text content.
Clean up your HTML. Sloppy HTML with unclosed tags, excessive inline styles, and deprecated elements can trigger spam scoring. Use an email HTML validator and test in multiple email clients. Keep your HTML simple and well-structured.
Review your links. Make sure every link in your email points to a domain with a good reputation. Do not use URL shorteners like bit.ly in email (they are heavily abused by spammers and are a red flag). If you are using link tracking, make sure your tracking domain has proper DNS records and a good reputation.
Step 5: Optimize Your Sending Patterns
How you send affects deliverability almost as much as what you send. Here are specific pattern adjustments that help:
Send consistently. Erratic sending patterns (nothing for three weeks, then a massive blast) look suspicious to mailbox providers. Establish a regular sending cadence and stick to it. If you send weekly, send every week. If you send twice a month, maintain that rhythm.
Avoid sudden volume spikes. If you normally send 10,000 emails per week and suddenly send 50,000, mailbox providers will throttle you. If you need to increase volume, do it gradually, no more than a 30-50% increase per week.
Segment and target. Instead of sending every email to your entire list, segment based on interest, engagement level, and behavior. Sending relevant content to smaller, more targeted segments produces better engagement, which improves your reputation for future sends to the broader list.
Time your sends based on engagement data. Look at when your subscribers actually open and click. Send during their active hours. This is not about finding a magic best time to send email globally. It is about matching your sending schedule to your specific audience's behavior.
Step 6: Implement a Sunset Policy
A sunset policy defines when inactive subscribers stop receiving your emails. This is one of the most effective long-term deliverability strategies, but it requires discipline because it means accepting that your list will be smaller.
A practical sunset policy:
- After 90 days of no engagement, reduce sending frequency (move from weekly to monthly)
- After 120 days, send a re-engagement email asking if they want to continue receiving messages
- After 150 days, send a final re-engagement attempt
- After 180 days, move to a suppression list
Subscribers who re-engage during the process go back to regular sending. Those who do not get suppressed. You might re-attempt suppressed subscribers once every 6-12 months with a single re-engagement email, but your regular campaigns should not include them.
The first time you implement a sunset policy, it can feel alarming. You might suppress 20-30% of your list. But the remaining list will perform dramatically better, and your deliverability will improve across the board.
Step 7: Set Up Monitoring
Deliverability is not a one-time fix. It requires ongoing monitoring so you can catch problems early before they become crises.
Set up regular monitoring for:
- Inbox placement: Use seed list testing (GlockApps, Everest, or similar) to check where your emails land across different providers at least monthly, more often during periods of change.
- Authentication rates: Monitor DMARC reports for authentication pass rates. Any drop below 95% needs investigation.
- Bounce rates: Track per-campaign bounce rates. Any campaign with bounces over 2% should trigger a review.
- Complaint rates: Monitor through Google Postmaster Tools and ISP feedback loops. Any spike above 0.1% is a warning sign.
- Engagement trends: Track open and click rates over time. Gradual declines often indicate early deliverability issues before they become critical.
Step 8: Work on Long-Term Reputation Building
Once you have fixed immediate problems and set up monitoring, focus on sustained reputation improvement:
Collect addresses through confirmed opt-in. Double opt-in generates the highest quality subscribers because every address is verified and every subscriber has actively confirmed their interest. If you cannot commit to double opt-in for all signups, at least use real-time email verification at the point of collection.
Honor preferences. Let subscribers choose what they receive and how often. Preference centers reduce complaints and improve engagement because people get the content they actually want at the frequency they prefer.
Make unsubscribing painless. One click, immediate effect. If your unsubscribe process involves logging in, selecting reasons, or waiting for processing, you are pushing people toward the spam button instead. Every spam complaint costs you more than an unsubscribe.
Regularly verify your list. Run batch verification quarterly at minimum. More frequently if your list is large or has high turnover. Verification catches addresses that have gone bad since the last check and keeps your bounce rate low.
Watch for new threats. Spam traps get seeded into online forms and data sources. New blacklists emerge. Mailbox providers change their filtering algorithms. Stay informed about changes in the deliverability landscape and adapt your practices accordingly.
The Recovery Timeline
If your deliverability is currently poor, be realistic about how long recovery takes. Sender reputation is built over weeks and months of consistent good behavior. A typical recovery timeline looks something like:
- Week 1-2: Fix authentication, clean list, implement sunset policy. Immediate reduction in bounces and complaints.
- Week 3-4: Begin seeing improvement in Google Postmaster Tools reputation scores.
- Month 2-3: Inbox placement starts improving measurably. Open rates begin climbing.
- Month 3-6: Full reputation recovery for most senders. Domain reputation reaches Medium or High in Google Postmaster Tools.
This timeline assumes you have identified and fixed the root causes. If you clean your list but continue acquiring bad addresses, or fix your authentication but keep sending to unengaged subscribers, the improvement will be temporary.
Deliverability improvement is not about finding one trick. It is about consistently doing the right things across authentication, list quality, content, sending patterns, and engagement. Fix the fundamentals, monitor the results, and be patient with the recovery process.